
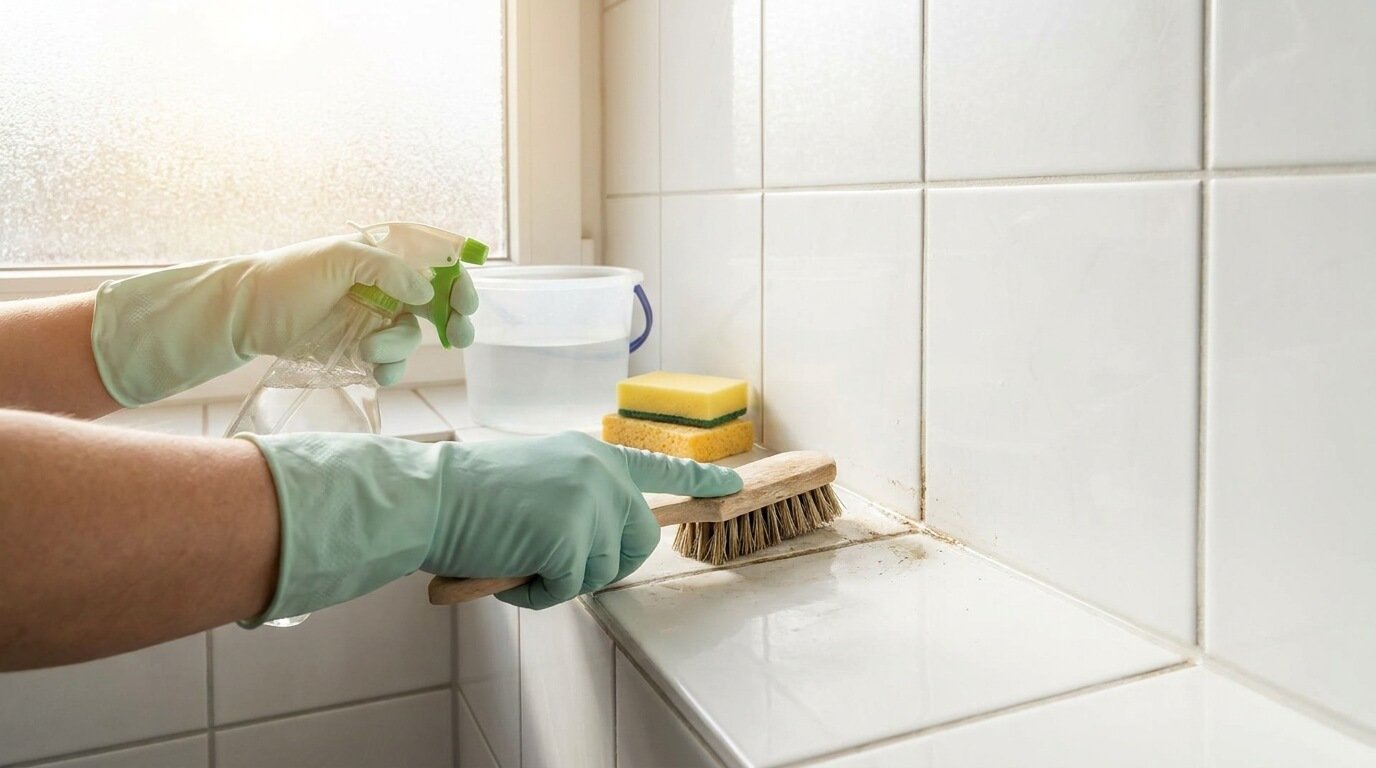

Bathroom tiles collect soap residue, body oils, hard water marks, and dirt from everyday use. Even when the floor looks clean, the grout between tiles can hold discoloration and moisture. The good news is that you can often restore the appearance of bathroom tiles with a few basic supplies and the right cleaning method.
To clean bathroom tiles, remove loose dirt first, wash the surface with warm water and a suitable pH neutral cleaner, gently scrub stubborn areas with a soft brush, rinse away residue, and dry the tiles with a clean cloth. For dirty grout, use a grout compatible cleaner and a soft nylon brush. Always check the tile material before using acidic or abrasive products.
The key is to clean the tile surface and grout separately when necessary. A cleaner that works on ceramic tiles may damage natural stone or certain grout finishes.
Tools and Materials You Will Need
Gather these supplies before starting:
- Microfiber cloths
- A soft broom or vacuum suitable for hard floors
- A bucket of warm water
- A pH neutral bathroom or tile cleaner
- A soft nylon grout brush
- A non scratch sponge
- A squeegee for shower walls
- Clean towels for drying
- Rubber gloves if recommended on the cleaner label
Avoid steel wool, harsh scouring pads, and unapproved acidic cleaners. If you have marble, limestone, travertine, or another natural stone, choose a product specifically labeled as safe for that material.
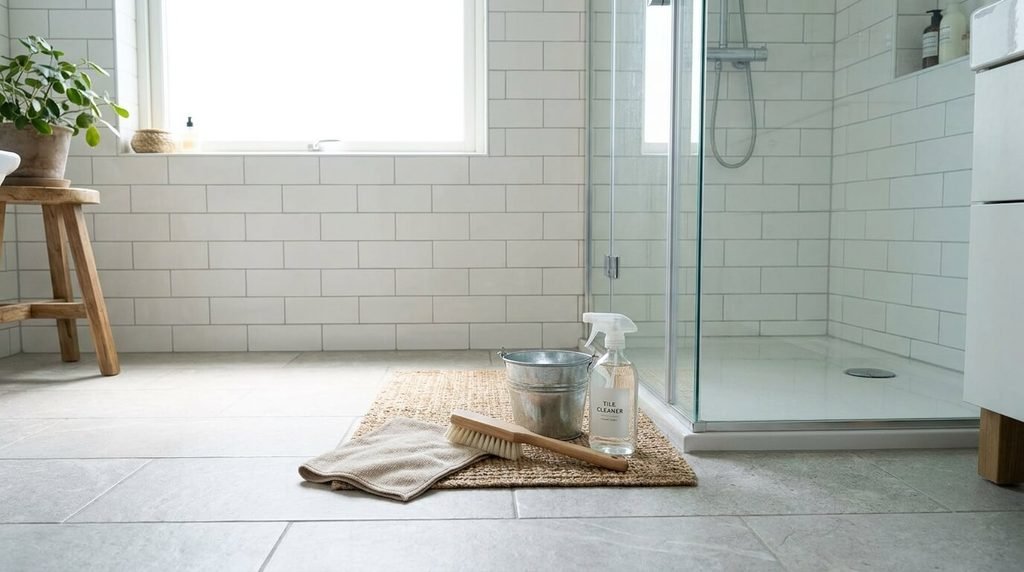
How to Clean Bathroom Tiles in 7 Easy Steps
Step 1: Remove Loose Dirt and Dust
Begin by clearing toiletries, bath mats, and other items from the area. Sweep or vacuum the floor to remove hair, dust, and loose debris.
This step is easy to overlook, but it makes a difference. If you start scrubbing while grit is still on the surface, you may spread dirt around or scratch a delicate finish.
For wall tiles, wipe away loose dust with a dry microfiber cloth before applying cleaner.
Step 2: Identify Your Tile Type
Before using a cleaning product, determine whether your bathroom has ceramic, porcelain, or natural stone tiles.
Ceramic and porcelain are generally suitable for routine cleaning with a compatible household tile cleaner. Natural stone may react to acidic products, including vinegar and some bathroom descalers.
If you are unsure about the material, check the manufacturer’s care instructions or test an approved product in a discreet area.
Step 3: Apply a Suitable Tile Cleaner
Mix or dilute the cleaner according to its label. Apply it to a small section at a time rather than covering the entire bathroom at once.
Allow the product to remain on the surface for the recommended contact time. Do not let it dry on the tiles unless the instructions specifically permit this.
Use a soft sponge or microfiber cloth to clean the surface. Pay attention to areas around the shower, bathtub, sink, and corners where soap residue often accumulates.
For routine tile cleaning, a suitable neutral cleaner is usually a better starting point than a strong chemical product.
Step 4: Scrub Stubborn Marks Gently
Some marks need more attention than ordinary washing can provide.
For soap residue, use a cleaner labeled for your particular tile material and follow the recommended application method. For hard water deposits, choose a product compatible with both the tiles and grout.
Work in small sections using gentle circular motions. Avoid aggressive scrubbing because it can damage certain finishes or wear down grout.
If a mark remains after cleaning, do not automatically switch to a stronger chemical. It could be mineral buildup, a damaged finish, or permanent discoloration rather than ordinary dirt.
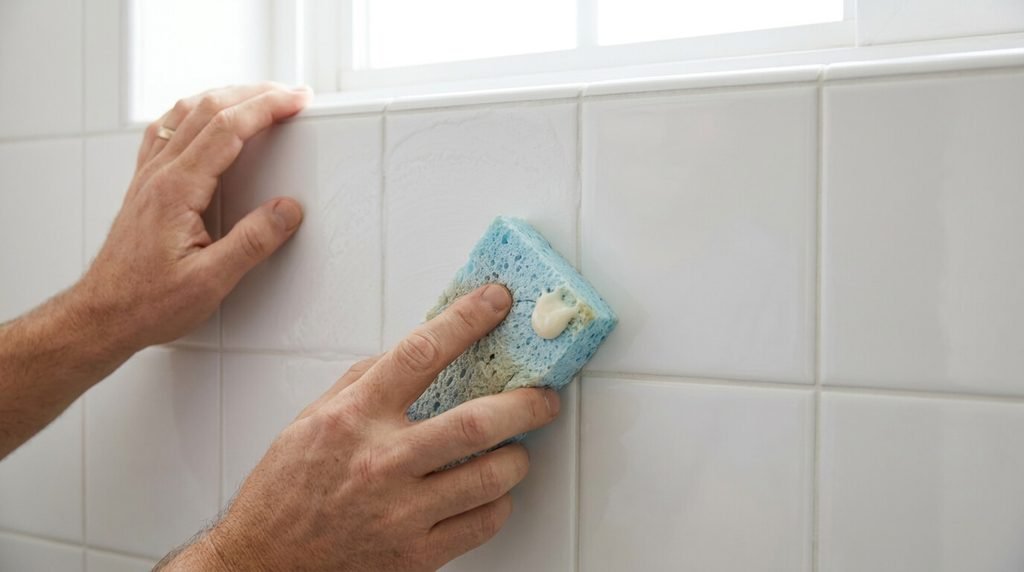
Step 5: How to Clean Grout Between Tiles
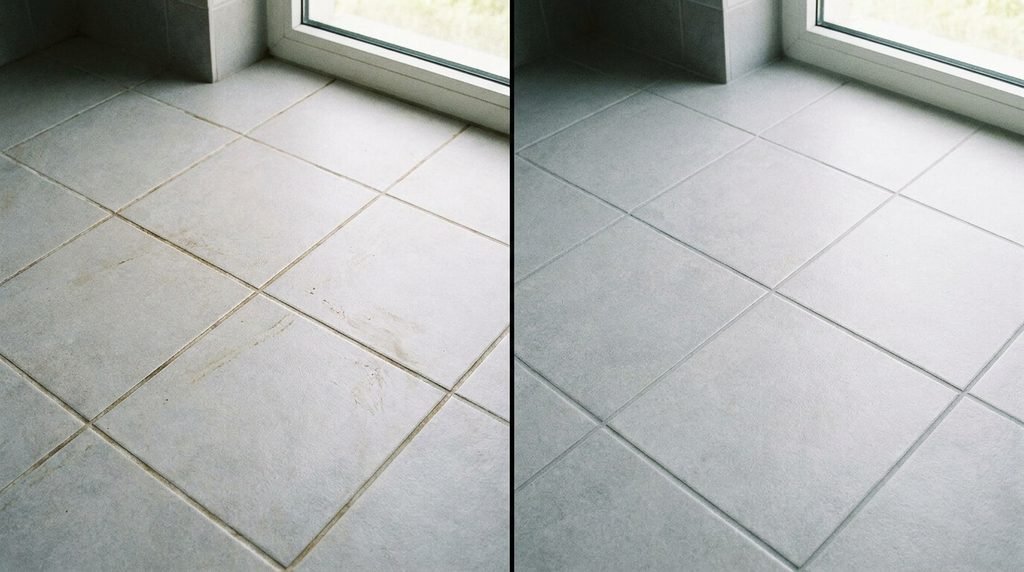
Grout can look darker than the surrounding tiles because its textured surface collects dirt and residue. Cleaning it separately often produces a more noticeable improvement.
To learn how to clean floor tile grout, begin by removing loose debris and applying a grout compatible cleaner. Follow the label instructions, then gently scrub the grout lines with a soft nylon brush.
Work along short sections instead of brushing the entire floor at once. Wipe away loosened dirt with a damp cloth and rinse as directed by the product manufacturer.
Avoid using metal brushes or scraping tools that can damage grout. Also, do not assume that every dark grout line is dirty. Staining, worn grout, and persistent discoloration may require a different solution.
If grout is cracked, missing, or repeatedly becoming damp, investigate the underlying issue rather than relying on cleaning alone.
Step 6: Rinse and Dry the Tiles
After scrubbing, remove cleaner residue according to the product instructions. Residue left behind can attract dirt or create a dull film.
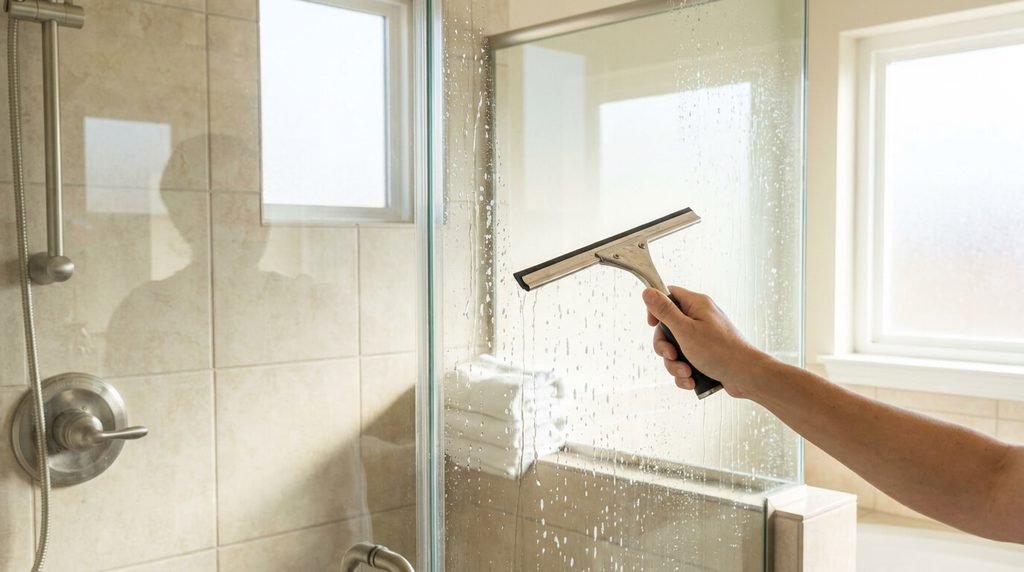
Use clean water and a fresh microfiber cloth where appropriate. For shower walls, a squeegee can remove excess water, while a clean towel can help dry corners and edges.
For floors, make sure the surface is safe to walk on before using the bathroom again. Wet tiles can be slippery, particularly when cleaning products remain on the surface.
Step 7: Keep Tiles Cleaner Between Deep Cleans
Regular maintenance prevents soap residue and grime from building up.
After showering, use a squeegee on suitable shower walls and wipe away water around taps. Run the bathroom exhaust fan or improve ventilation to help surfaces dry.
Clean small spills promptly and wash the floor regularly with a compatible cleaner. Avoid leaving wet bath mats on the floor for extended periods.
If you also want to maintain other soft surfaces in your home, read our guides on sofa cleaning at home and how to deep clean carpet.
If your bathroom tiles are cracked, damaged, or beyond cleaning, replacing them may be a better option. Use our Tile Calculator to estimate how many tiles you need for your bathroom project and plan your materials before starting.
Common Bathroom Tile Cleaning Mistakes to Avoid
A few cleaning habits can damage surfaces or create unnecessary risks.
Mixing cleaning products: Never mix bleach with vinegar, ammonia, or other cleaners. Dangerous fumes can form. Use one product at a time, follow its label, and ventilate the bathroom. The US Environmental Protection Agency’s mold cleaning guidance explains why mixing bleach with ammonia containing products is hazardous.
Using vinegar on every tile: Vinegar is acidic and may damage marble, limestone, and other acid sensitive surfaces. Check the material and manufacturer guidance first.
Scrubbing with abrasive tools: Metal brushes and harsh pads can scratch finishes or damage grout.
Ignoring ventilation: A damp bathroom encourages recurring moisture problems. Improve airflow and address leaks rather than relying on frequent cleaning alone.
Using too much cleaner: More product does not necessarily mean better results. Incorrect concentrations can leave residue or damage the surface.
Frequently Asked Questions
1. What is the easiest way to clean bathroom tiles?
Remove loose dirt, use a suitable tile cleaner, gently scrub the surface, rinse away residue, and dry the tiles. The correct product depends on the tile material and finish.
2. How often should bathroom tiles be cleaned?
Light cleaning once a week is a reasonable starting point for many households. Shower areas and frequently used floors may need more frequent attention, depending on moisture, soap buildup, and household use.
3. How do you remove soap scum from shower tile?
Use a cleaner labeled for your tile material and soap residue. Allow the recommended contact time, gently scrub with a non scratch sponge, and rinse thoroughly. Avoid acidic cleaners on natural stone.
4. How can I clean grout without damaging it?
Use a grout compatible cleaner and a soft nylon brush. Follow the manufacturer’s instructions and avoid metal tools or harsh scrubbing that may wear away the grout.
5. Can vinegar be used for tile cleaning?
Vinegar may be suitable for certain compatible surfaces, but it is not safe for every tile or grout type. Avoid it on acid sensitive natural stone and check the manufacturer’s recommendations before use.
6. Why do bathroom tiles look dull after cleaning?
A dull appearance can result from cleaner residue, hard water deposits, surface wear, or damage. Rinse according to the product instructions and dry the surface. If the dullness remains, check whether the finish itself has deteriorated.
7. How do I prevent mold from returning between tiles?
Improve ventilation, dry wet surfaces, and repair leaks or persistent moisture problems. If mold repeatedly returns, cleaning alone may not address its source.
Final Thoughts
Knowing how to clean bathroom tiles properly means choosing the right product, treating grout carefully, and removing moisture after cleaning. A simple routine can help maintain the appearance of your shower walls and bathroom floor without unnecessary scrubbing or harsh chemicals.
Start with gentle cleaning, check product compatibility, and address persistent stains or damaged grout separately. Consistent maintenance is usually easier than waiting for heavy buildup to develop.