
Hardwood floors can develop squeaks over time, especially in busy hallways, bedrooms, and areas near doorways. The good news is that you may not need to replace the flooring to solve the problem. The right fix depends on what is moving beneath your feet and where the noise is coming from.
To fix squeaky hardwood floors, first locate the exact spot that makes noise when you walk across it. If two boards rub against each other, a small amount of manufacturer approved floor lubricant may help. If the floor moves because a board or subfloor is loose, the underlying connection may need to be secured. Persistent squeaks, damaged boards, and moisture related problems require a closer inspection before attempting a repair.
The important thing is to identify the source of the sound before choosing a solution. Applying powder, lubricant, or screws without understanding the cause can waste time or damage the flooring.
Why Do Hardwood Floors Squeak?
Squeaky floors usually indicate movement or friction somewhere in the flooring system. The visible hardwood boards are only one part of that system.
Here are the most common causes.
1. Hardwood boards rubbing together
Wood naturally expands and contracts as indoor humidity changes. When neighboring boards move against one another, they can produce a high pitched squeak.
2. Loose nails or fasteners
Older hardwood floors may have nails that have loosened over time. When someone steps on a board, the movement can create friction between the board and its fastener.
3. Movement between the subfloor and joists
The subfloor supports the finished flooring and rests on structural framing called joists. If these components move against one another, the sound may come from below the hardwood rather than from the visible surface.
4. Seasonal changes in humidity
Wood responds to changes in moisture. A floor that becomes noisier during dry winter months or humid summer weather may be responding to seasonal movement rather than a single loose board.
5. Previous installation or repair problems
An uneven subfloor, unsuitable fasteners, or an earlier repair that did not address the underlying movement can cause recurring squeaks.
Tools and Materials You May Need
You do not necessarily need every item on this list. Choose tools based on the location and likely cause of the squeak.
- Flashlight to inspect floor gaps and board edges
- Painter’s tape to mark noisy spots
- Soft cloth for cleaning the affected area
- Hardwood floor cleaner suitable for the existing finish
- Manufacturer approved floor lubricant, if appropriate for the flooring
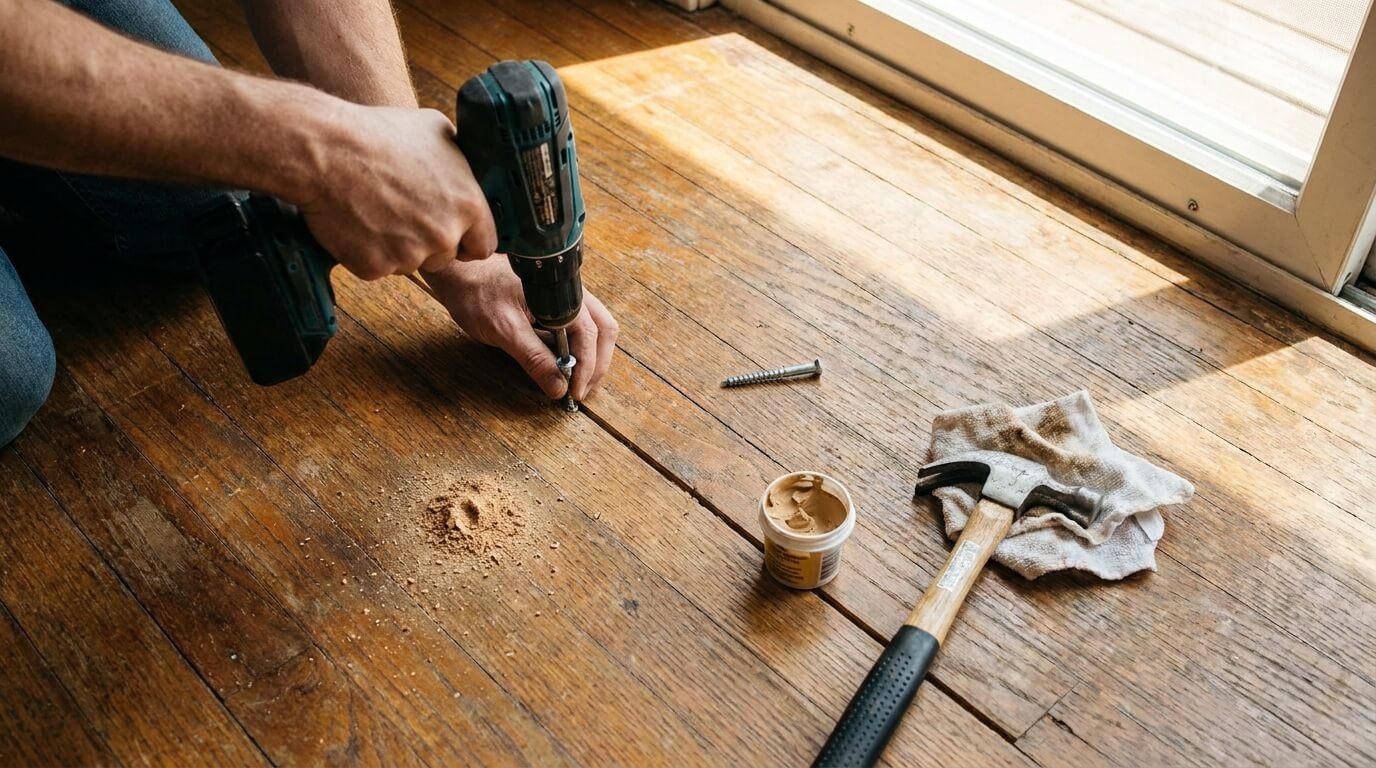
- Screwdriver or drill for suitable repairs where the subfloor is accessible
- Appropriate flooring screws or a purpose made squeak repair kit, if the flooring construction allows it
- Safety glasses for repairs involving drilling or fastening
A stud finder may help locate floor joists from above in some installations, but it is not reliable for every floor type. Check the flooring construction before drilling or driving screws. Pipes, electrical wiring, heating systems, and other concealed services may be present beneath the floor.
How to Fix Squeaky Hardwood Floors Step by Step
Step 1: Find the Exact Source of the Squeak
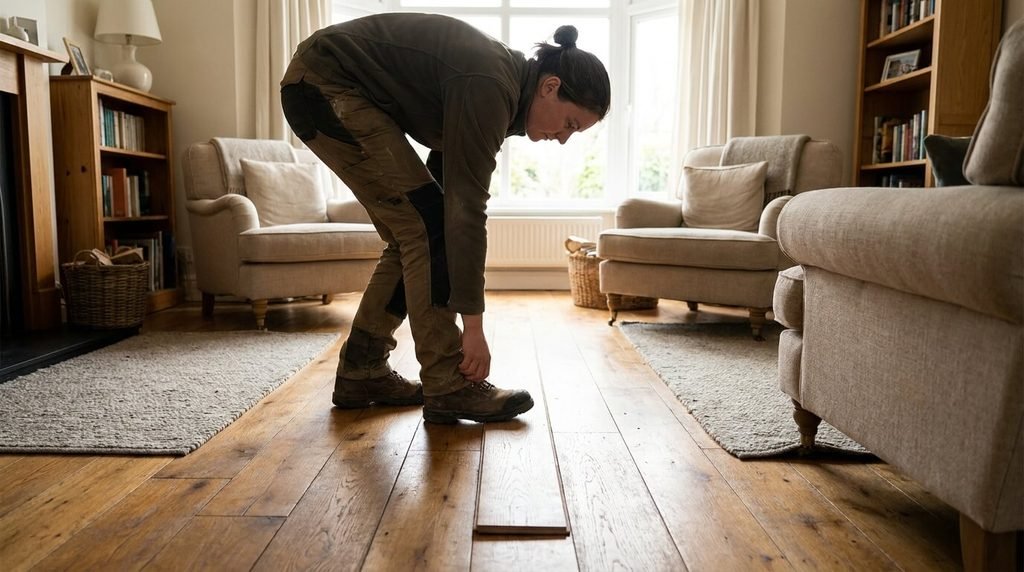
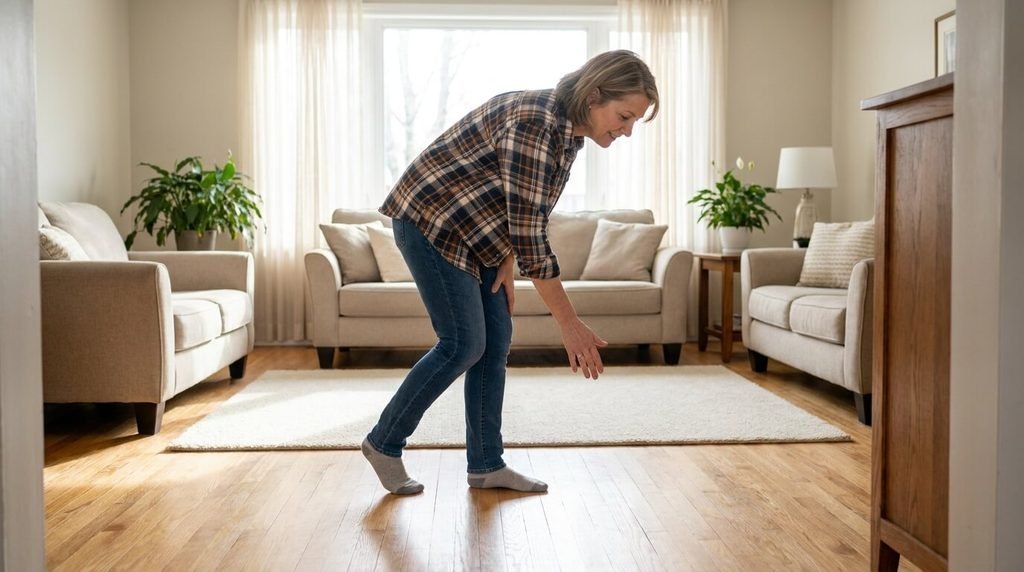
Start by walking slowly across the affected area. Ask another person to listen nearby while you apply gentle pressure to individual boards.
Mark each noisy location with painter’s tape.
Pay attention to the type of sound:
- A brief, high pitched squeak may indicate friction between boards.
- A clicking or creaking sound accompanied by visible movement may indicate a loose connection.
- A broader creak across several boards may point to movement in the subfloor or supporting structure.
These clues are useful, but they do not prove the cause. Several different problems can sound similar.
A useful tip: Test the floor from different directions. If a spot squeaks when you step across the board but not when you walk along its length, the direction of movement may help narrow down the problem.
Do not jump, stamp on the floor, or use excessive force to reproduce the noise.
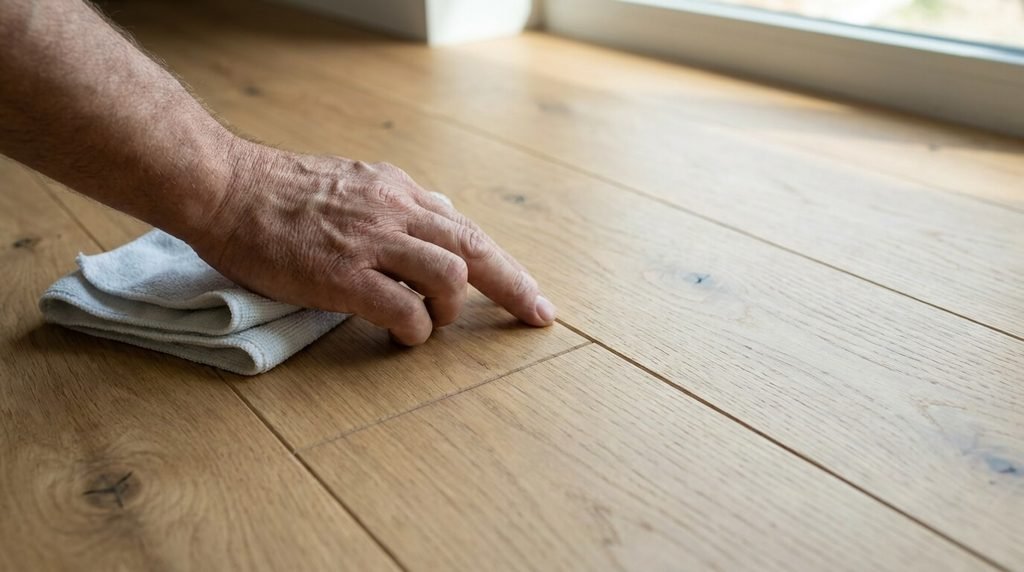
Step 2: Clean the Area and Check for Surface Problems
Remove rugs and furniture from the affected spot. Sweep away dust and grit, then inspect the board edges and surrounding finish.
Look for:
- Small gaps between boards
- Loose or raised fasteners
- Splintered edges
- Cracked or visibly damaged boards
- Signs of water staining or swelling
Clean the area with a product suitable for your hardwood finish. Avoid soaking the floor or using a steam mop. Excess moisture can damage wood and make an existing problem worse.
If the floor has a raised edge, substantial gap, or signs of moisture damage, do not try to force the board back into position. Identify the cause before proceeding.
Step 3: Deal With Friction Between Adjacent Boards
If the boards appear stable and the noise seems to come from friction between neighboring edges, a flooring manufacturer approved lubricant may help.
Choose a product specifically suitable for your floor type and finish. Follow the product instructions and test it in an inconspicuous area first.
Apply only the recommended amount to the specified location, then remove any residue from the finished surface as directed.
Do not pour oil, water, or household cleaning products into floor gaps. Avoid using wax or powder as a universal fix because some products can discolor the finish, leave residue, or create a slippery surface.
If the squeak continues, stop adding products. The noise may be caused by movement below the boards rather than friction at their edges.
Step 4: Check for Loose Boards and Fasteners
If a board visibly moves when you apply gentle pressure, the problem may involve a loose fastener or an unstable connection underneath.
First determine whether the movement is limited to one board or affects a wider section of the floor.
For an accessible subfloor, a suitable repair may involve securing the loose connection with the correct flooring fastener. However, this depends on how the floor was installed and which materials lie underneath.
Do not drive ordinary screws blindly through finished hardwood. A screw that is too long can penetrate the floor surface, damage concealed services, or interfere with the flooring system. An unsuitable fastener can also split the wood.
If the flooring is installed over concrete, uses a floating installation system, or has an unknown construction, the correct repair may be different.
When you cannot confirm the floor structure, a flooring professional can determine which repair method is appropriate.
Step 5: Inspect the Subfloor if the Noise Continues
If several boards creak together or the noise seems to come from below the floor, the subfloor or its connection to the joists may be involved.
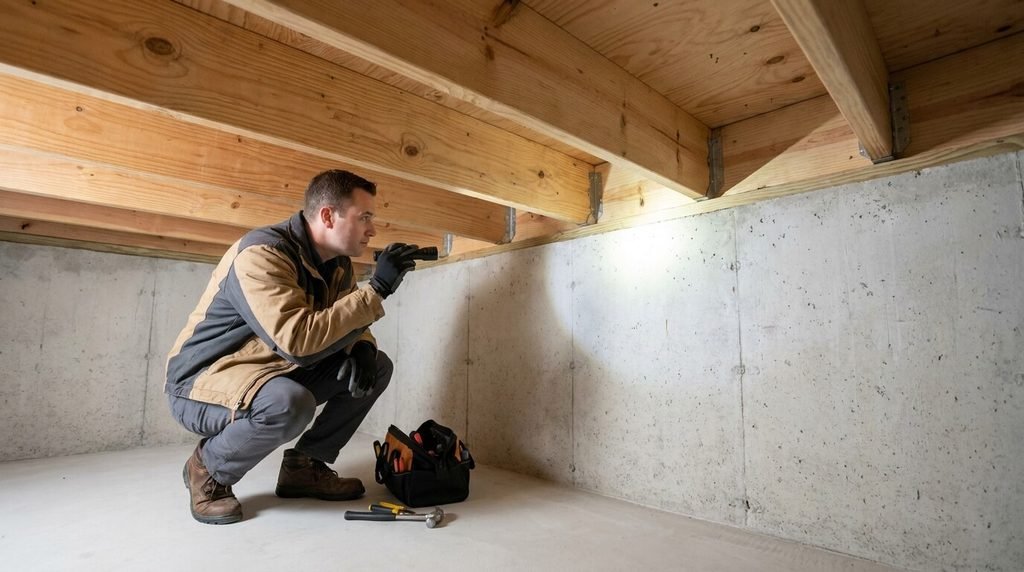
Where there is safe access from below, such as through an unfinished basement or crawlspace, a qualified person can inspect the underside while another person gently tests the area above.
Look for movement at the joints, loose connections, visible damage, or signs of moisture. Do not enter an unsafe crawlspace or attempt repairs near electrical wiring or plumbing.
The National Wood Flooring Association notes that noisy floors may require attention to the subfloor system and that concealed components must be considered before screws are installed.
Read the National Wood Flooring Association’s technical guidelines for further information on subfloor integrity and floor noise.
If the subfloor is damaged, damp, or moving significantly, simply fastening the visible boards may not solve the underlying problem.
Step 6: Consider Seasonal Changes Before Making Permanent Repairs
Not every squeaky floor needs immediate fastening or replacement.
If the sound appears mainly during a particular season, compare the affected area with its condition during other weather conditions. Dry indoor air can cause wood to shrink, while higher humidity can cause it to expand.
A sudden change in noise accompanied by new gaps, raised edges, or discoloration deserves closer attention.
Maintain a reasonably stable indoor environment and follow the flooring manufacturer’s recommendations for temperature and humidity. Avoid making major repairs solely because a small seasonal gap has appeared.
The National Wood Flooring Association’s problem prevention guidance explains how moisture changes can affect wood flooring.
Step 7: Test the Repair Before Finishing the Job
After making an appropriate repair, walk across the area again using normal steps. Test the same spots and directions you used during the initial inspection.
Check whether the squeak has disappeared, become quieter, or moved to another location.
If the noise remains unchanged, do not keep adding lubricant or driving in more screws. Reassess the cause.
A repair that reduces noise temporarily but leaves a loose or damaged connection unresolved may not last.
Mistakes to Avoid When Fixing Creaky Floors
A repair can cause more problems if the original source of the noise is misunderstood.
Using too much lubricant: Excess product can leave residue, attract dirt, or make the surface slippery.
Driving screws without checking underneath: Concealed pipes, wiring, heating equipment, and unsuitable subfloor materials can make blind fastening unsafe.
Ignoring moisture damage: A squeak near a water stain, swollen board, or persistent damp area may indicate a larger issue.
Assuming every squeak comes from a loose nail: Friction between boards and movement in the subfloor can create similar sounds.
Using excessive water during cleaning: Hardwood flooring should not be saturated in an attempt to quiet noisy joints.
Repeating a failed repair: If the same noise returns, investigate the underlying movement rather than repeating the same treatment.
For other household repairs, you can also read our guides on how to fix a sagging door and how to fix a door that won’t latch. Both illustrate why identifying the source of a problem matters before making an adjustment.
When Should You Call a Flooring Professional?
DIY troubleshooting is reasonable for minor noise when the boards are otherwise stable and undamaged. Professional inspection is a better choice if you notice:
- Soft or spongy areas underfoot
- Significant movement across several boards
- Cracked, split, or badly warped hardwood
- Persistent moisture or water damage
- Squeaking that returns after a suitable repair
- A noise that appears to come from damaged structural framing
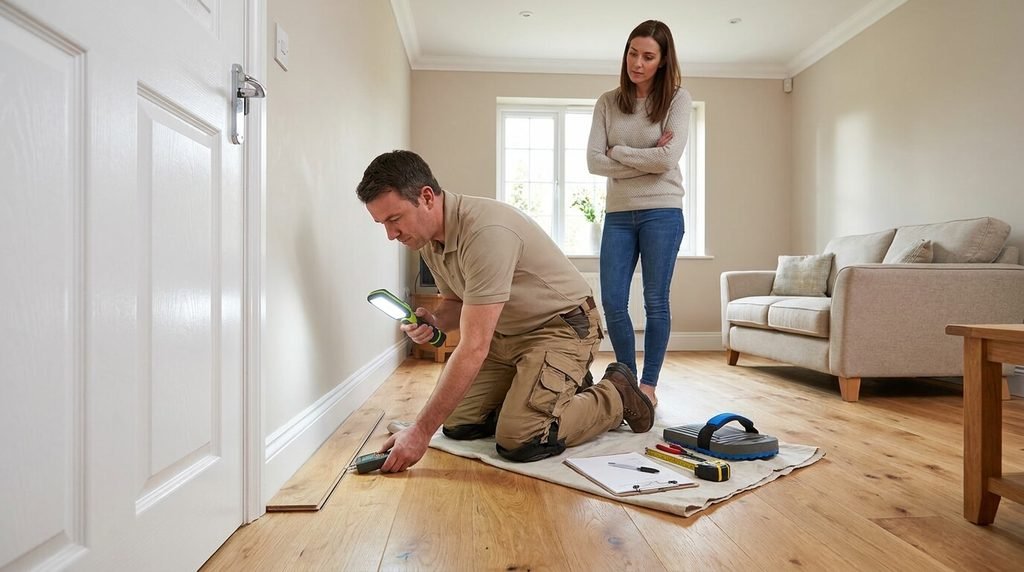
A flooring specialist can assess whether the issue is limited to the finish flooring or involves the subfloor and supporting structure.
Frequently Asked Questions
1. What is the easiest way to fix squeaky hardwood floors?
The easiest method depends on the cause. If two stable boards rub against each other, a compatible flooring lubricant may help. If the noise comes from a loose board or subfloor connection, the underlying connection may need to be repaired.
2. Can I fix a squeaky floor without removing the hardwood?
Often, yes. Some squeaks can be addressed from above or through an accessible space beneath the floor. However, the correct approach depends on the installation method and the condition of the subfloor. Some repairs require access to the affected components.
3. Why do my hardwood floors squeak more in winter?
Indoor heating can reduce humidity, causing wood to lose moisture and shrink. This movement may create gaps or increase friction between boards. If the floor also develops unusual movement or visible damage, investigate further instead of assuming the noise is seasonal.
4. Can baby powder or talcum powder stop squeaky floors?
Powder is sometimes suggested for friction between boards, but it is not a reliable solution for every floor. It can leave residue, affect the appearance of the finish, and fail to address loose connections underneath. Use only a product approved for your flooring and its specific application.
5. What causes wood floor cracking along with squeaking?
Cracking and squeaking can occur together because wood responds to changes in moisture and temperature. However, a crack may also result from impact, excessive movement, or damage. Check for raised edges, widening gaps, and moisture signs. Significant or worsening cracks should be assessed professionally.
6. Do squeaky floors mean there is structural damage?
Not necessarily. Many squeaks come from ordinary friction or loose flooring connections. However, widespread movement, soft spots, sagging, or persistent moisture can indicate a more serious issue that needs inspection.
7. Should I use screws to stop creaky floors?
Screws can help in some flooring systems when they secure a loose connection correctly. They are not suitable for every installation, and driving them blindly through finished hardwood can cause damage. Confirm the floor construction and check for concealed services before any fastening work.
8. How can I prevent squeaky hardwood floors from returning?
Keep indoor humidity reasonably stable, clean spills promptly, use appropriate wood floor cleaners, and investigate new movement early. Avoid excessive moisture and address recurring squeaks at their source rather than relying on temporary treatments.
Final Thoughts
Learning how to fix squeaky hardwood floors starts with identifying where the sound originates. Friction between boards, loose fasteners, subfloor movement, and seasonal moisture changes require different approaches.
Begin with a careful inspection, choose a repair suited to the flooring construction, and avoid blind drilling or excessive products. If the floor shows structural movement, moisture damage, or persistent cracking, professional assessment can help prevent a small problem from becoming a larger repair.